2. Quick Start
Start a Minecraft game and start Python. First, we’ll connect Python to the Minecraft world and post a message to the chat console:
>>> from picraft import *
>>> world = World()
>>> world.say('Hello, world!')
The World class is the usual starting point for picraft
scripts. It provides access to the blocks that make up the world, the players
within the world, methods to save and restore the state of the world, and the
ability to print things to the chat console.
Next, we can query where we’re standing with the
pos attribute of the
player attribute:
>>> world.player.pos
Vector(x=-2.49725, y=18.0, z=-4.21989)
This tells us that our character is standing at the 3-dimensional coordinates -2.49, 18.0, -4.22 (approximately). In the Minecraft world, the X and Z coordinates (the first and last) form the “ground plane”.

In other words you, can think of X as going left to right, and Z as going
further to nearer. The Y axis represents height (it goes up and down). We can
find out our player’s coordinates rounded to the nearest block with the
tile_pos attribute:
>>> world.player.tile_pos
Vector(x=-3, y=18, z=-5)
We can make our character jump in the air by adding a certain amount
to the player’s Y coordinate. To do this we need to construct a
Vector with a positive Y value and add it to the
tile_pos attribute:
>>> world.player.tile_pos = world.player.tile_pos + Vector(y=5)
We can also use a Python short-hand for this:
>>> world.player.tile_pos += Vector(y=5)
This demonstrates one way of constructing a Vector.
We can also construct one by listing all 3 coordinates explicitly:
>>> Vector(y=5)
Vector(x=0, y=5, z=0)
>>> Vector(0, 5, 0)
Vector(x=0, y=5, z=0)
There are also several short-hands for the X, Y, and Z “unit vectors” (vectors with a length of 1 aligned with each axis), and it’s worth noting that most mathematical operations can be applied to vectors:
>>> Vector(y=1)
Vector(x=0, y=1, z=0)
>>> Y
Vector(x=0, y=1, z=0)
>>> 5*Y
Vector(x=0, y=5, z=0)
There’s also a short-hand for Vector (V), and another representing the origin coordinates (O):
>>> V(y=1)
Vector(x=0, y=1, z=0)
>>> O
Vector(x=0, y=0, z=0)
We can use the blocks attribute to discover the
type of each block in the world. For example, we can find out what sort of
block we’re currently standing on:
>>> world.blocks[world.player.tile_pos - Y]
<Block "grass" id=2 data=0>
We can assign values to this property to change the sort of block we’re
standing on. In order to do this we need to construct a new
Block instance which can be done by specifying the
id number, or by name:
>>> Block(1)
<Block "stone" id=1 data=0>
>>> Block('stone')
<Block "stone" id=1 data=0>
Now we’ll change the block beneath our feet:
>>> world.blocks[world.player.tile_pos - Y] = Block('stone')
We can query the state of many blocks surrounding us by providing a vector
slice to the blocks attribute. To make things
a little easier we’ll store the base position first:
>>> p = world.player.tile_pos - Y
>>> world.blocks[p - Vector(1, 0, 1):p + Vector(2, 1, 2)]
[<Block "grass" id=2 data=0>,
 <Block "grass" id=2 data=0>,
 <Block "grass" id=2 data=0>,
 <Block "grass" id=2 data=0>,
 <Block "stone" id=1 data=0>,
 <Block "grass" id=2 data=0>,
 <Block "grass" id=2 data=0>,
 <Block "grass" id=2 data=0>,
 <Block "grass" id=2 data=0>]
Note that the range provided (as with all ranges in Python) is half-open,
which is to say that the lower end of the range is inclusive while the upper
end is exclusive. You can see this explicitly with the
vector_range() function:
>>> p
Vector(x=-2, y=14, z=3)
>>> list(vector_range(p - Vector(1, 0, 1), p + Vector(2, 1, 2)))
[Vector(x=-3, y=14, z=2),
 Vector(x=-3, y=14, z=3),
 Vector(x=-3, y=14, z=4),
 Vector(x=-2, y=14, z=2),
 Vector(x=-2, y=14, z=3),
 Vector(x=-2, y=14, z=4),
 Vector(x=-1, y=14, z=2),
 Vector(x=-1, y=14, z=3),
 Vector(x=-1, y=14, z=4)]
This may seem a clunky way of specifying a range and, in the manner shown above it is. However, most standard arithmetic operations applied to a vector are applied to all its elements:
>>> Vector()
Vector(x=0, y=0, z=0)
>>> Vector() + 1
Vector(x=1, y=1, z=1)
>>> 2 * (Vector() + 1)
Vector(x=2, y=2, z=2)
This makes construction of such ranges or slices considerably easier. For
example, to construct a vertical range of vectors from the origin (0, 0, 0) to
(0, 10, 0) we first assign the origin to p which we use for the start of
the range, then add 10*Y to it, and finally add one to compensate
for the half-open nature of the range:
>>> p = Vector()
>>> list(vector_range(p, p + (10*Y) + 1))
[Vector(x=0, y=0, z=0),
 Vector(x=0, y=1, z=0),
 Vector(x=0, y=2, z=0),
 Vector(x=0, y=3, z=0),
 Vector(x=0, y=4, z=0),
 Vector(x=0, y=5, z=0),
 Vector(x=0, y=6, z=0),
 Vector(x=0, y=7, z=0),
 Vector(x=0, y=8, z=0),
 Vector(x=0, y=9, z=0),
 Vector(x=0, y=10, z=0)]
We can also re-write the example before this (the blocks surrounding the one the player is standing on) in several different ways:
>>> p = world.player.tile_pos
>>> list(vector_range(p - 1, p + 2 - (2*Y)))
[Vector(x=-3, y=14, z=2),
 Vector(x=-3, y=14, z=3),
 Vector(x=-3, y=14, z=4),
 Vector(x=-2, y=14, z=2),
 Vector(x=-2, y=14, z=3),
 Vector(x=-2, y=14, z=4),
 Vector(x=-1, y=14, z=2),
 Vector(x=-1, y=14, z=3),
 Vector(x=-1, y=14, z=4)]
We can change the state of many blocks at once similarly by assigning a new
Block object to a slice of blocks:
>>> p = world.player.tile_pos
>>> world.blocks[p - 1:p + 2 - (2*Y)] = Block('stone')
This is a relatively quick operation, as it only involves a single network call. However, re-writing the state of multiple blocks with different values is more time consuming:
>>> world.blocks[p - 1:p + 2 - (2*Y)] = [
...     Block('wool', data=i) for i in range(9)]
You should notice that the example above takes longer to process. This can be accomplished considerably more quickly by batching multiple requests together:
>>> world.blocks[p - 1:p + 2 - (2*Y)] = Block('stone')
>>> with world.connection.batch_start():
...     world.blocks[p - 1:p + 2 - (2*Y)] = [
...         Block('wool', data=i) for i in range(9)]
Finally, the state of the Minecraft world can be saved and restored easily with
the checkpoint object:
>>> world.checkpoint.save()
>>> world.blocks[p - 1:p + 2 - (2*Y)] = Block('stone')
>>> world.checkpoint.restore()
In order to understand vectors, it can help to visualize them. Pick a relatively open area in the game world.
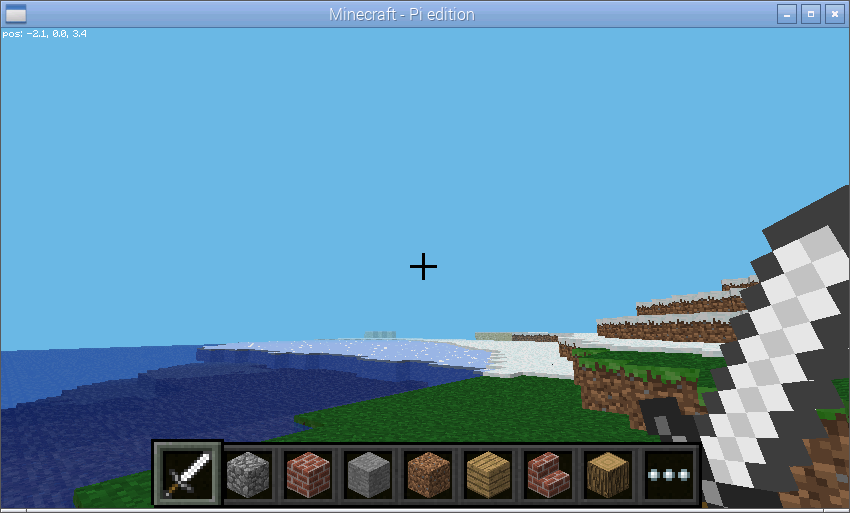
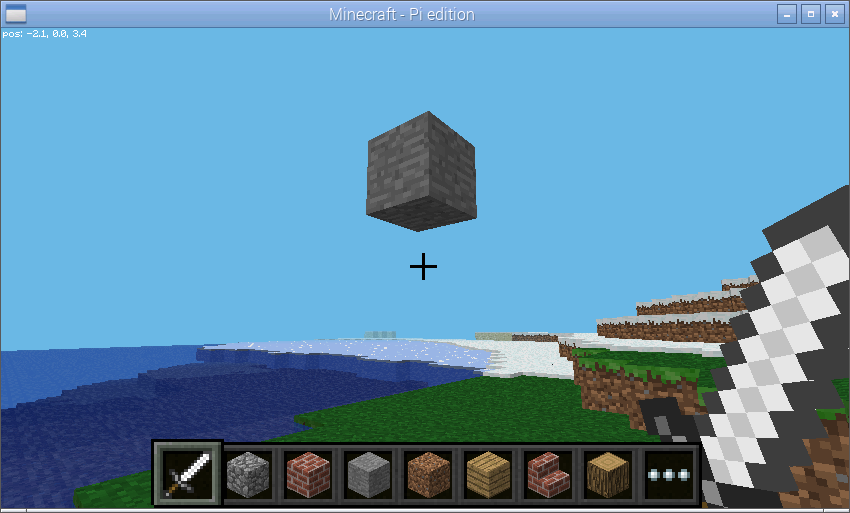
We’ll save the vector of your player’s position as p then add 3 to it. This
moves the vector 3 along each axis (X, Y, and Z). Next, we’ll make the block
at p into stone:
>>> p = world.player.tile_pos
>>> p = p + 3
>>> world.blocks[p] = Block('stone')
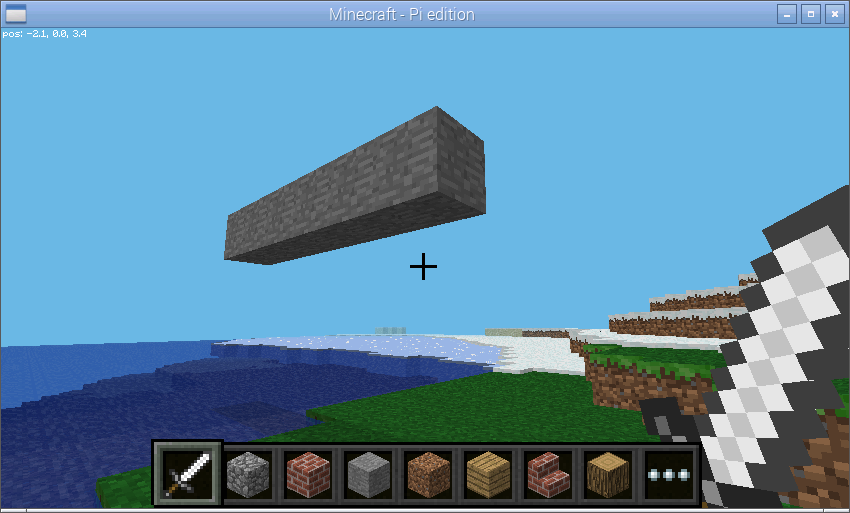
Now we’ll explore vector slices a bit by making a line along X+5 into stone. Remember that slices (and ranges) are half-open so we need to add an extra 1 to the end of the slice:
>>> world.blocks[p:p + Vector(x=5) + 1] = Block('stone')
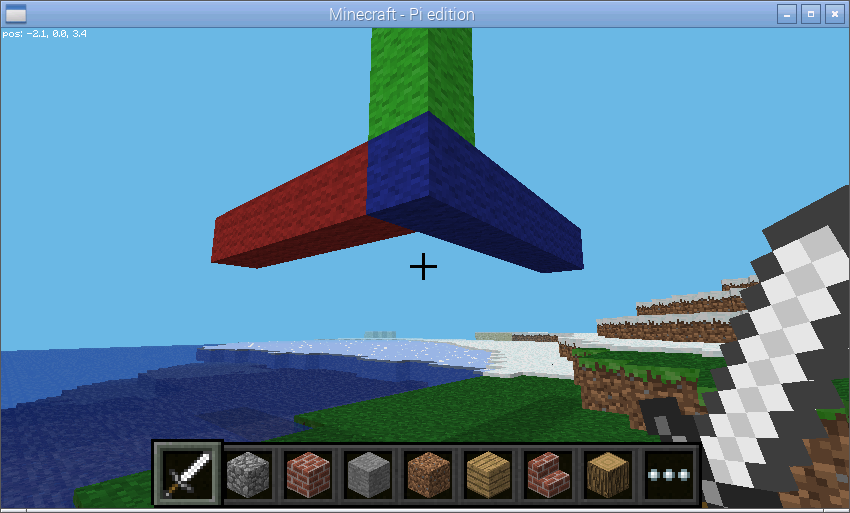
In order to visualize the three different axes of vectors we’ll now draw them
each. Here we also use a capability of the Block
constructor to create a block with a particular color:
>>> world.blocks[p:p + (5*X) + 1] = Block('#ff0000')
>>> world.blocks[p:p + (5*Y) + 1] = Block('#00ff00')
>>> world.blocks[p:p + (5*Z) + 1] = Block('#0000ff')
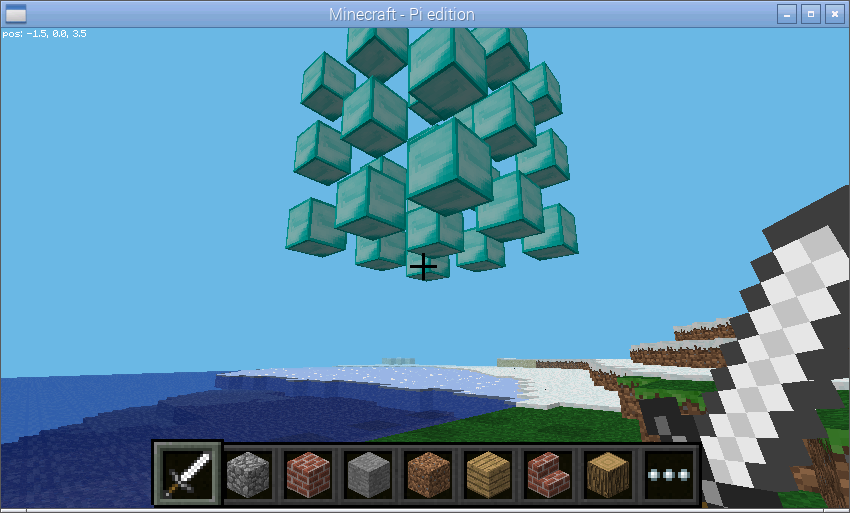
Finally, we can use a vector range to demonstrate patterns. Firstly we wipe out our axes by setting the entire block to “air”. Then we define a vector range over the same block with a step of 2, and iterate over each vector within setting it to diamond:
>>> world.blocks[p:p + 6] = Block('air')
>>> r = vector_range(p, p + 6, Vector() + 2)
>>> for rv in r:
...     world.blocks[rv] = Block('diamond_block')
Once again, we can make use of a batch to speed this up:
>>> world.blocks[p:p + 6] = Block('air')
>>> with world.connection.batch_start():
...     for rv in r:
...         world.blocks[rv] = Block('diamond_block')